Inhaltsverzeichnis
Standalone Applications
To follow this tutorial you should have finished the previous chapter, Custom Apps and Plugins.
BPS standalone applications are exe programs that can run without the BPS workplace. Some example of standard standalone applications are the bps.exe and gui.exe script interpreters, or reportspooler.exe.
A regular exe becomes a BPS application by using the library bpscore or bpsgui. The libbray link files are found in the lib subdirectory of the BPS installation, the include files are located in subdirectory include and the DLL's are found in the bin subdirectory.
Before we start with our basic test lets create some more feature files to let the subprojects find the include and lib files.
bpscore.prf
Adds the bpscore library. Use this for command line (non-GUI) standalone applications.
load(bpsinit.prf)
LIBS += "$$bpsdir/lib/bpscore.lib"
INCLUDEPATH += $$bpsdir/include
bpsgui.prf
Adds the bpsgui library. Use this for all plugins and standalone applications with a GUI interface.
load(bpscore.prf)
LIBS += "$$bpsdir/lib/bpsgui.lib"
INCLUDEPATH += $$bpsdir/include
bpsexe.prf
Makes that a built exe file is copied to the bin folder of the proper bps installation.
load(bpsinit.prf)
QMAKE_POST_LINK += \
    xcopy /y /q $$shell_path($$DESTDIR/$$join(TARGET,,,.exe)) $$shell_path($$bpsdir/bin/*)
Hello EXE
- Right-click on the main project (
custom) and run New Subproject… to start the New Subproject wizard. - Page Choose a template
ApplicationQt Widgets Application- Choose…
- Page Introduction and Project Location
- Name:
hello - Create in:
C:\dev\mybps\custom - Next
- Page Class Information
- Class name:
MainWindow - Base class:
QMainWindow - Header file:
mainwindow.h - Source file:
mainwindow.cpp - Generate form: [ ] (no)
- Next
- Page Project Management
- Finish
This creates the new subproject hello with the qmake file hello.pro and the source files main.cpp, mainwindow.cpp and mainwindow.h.
Edit hello.pro to:
TARGET = hello
TEMPLATE = app

QT += core gui widgets

CONFIG += bpsexe bpsgui

SOURCES += \
    main.cpp\
    mainwindow.cpp

HEADERS += \
    mainwindow.h
By adding bpsexe and bpsgui to the CONFIG variable we include the feature files bpsexe.prf and bpsgui.prf directly, and the feature files bpscore.prf and bpsinit.prf indirectly.
Edit main.cpp to:
#include "mainwindow.h"
#include <bpsapplication.h>

int main(int argc, char *argv[])
{
    BpsApplication a(argc, argv);
    MainWindow w;
    w.show();
    return a.exec();
}
We here just exchange QApplication by BpsApplication. Technically this very simple example might also work without this change, but we generally should use BpsApplication in our standalone BPS applications to be able to fully use all BPS methods and functions.
Edit mainwindow.cpp to:
#include "mainwindow.h"
#include <bpsgui.h>
#include <QLabel>

MainWindow::MainWindow(QWidget *parent)
    : QMainWindow(parent)
{
    setWindowTitle(tr("Hello BPS"));
    QLabel* label = new QLabel;
    label->setPixmap(bpsGui->pixmap(bStr("gears_run"), 64));
    label->setAlignment(Qt::AlignCenter);
    setCentralWidget(label);
}

MainWindow::~MainWindow()
{
}
This looks a bit more interesting but you might not understand everything unless you are already familiar with Qt. The bpsGui class is used here to set the pixel map of a label, which is shown as the central widget of a main window.
This is a good time to start learning the details and dive into general Qt development and the special BPS classes. The Qt documentation is integrated in the help of Qt Creator and is also available online. The BPS C++ documentation is also available online.
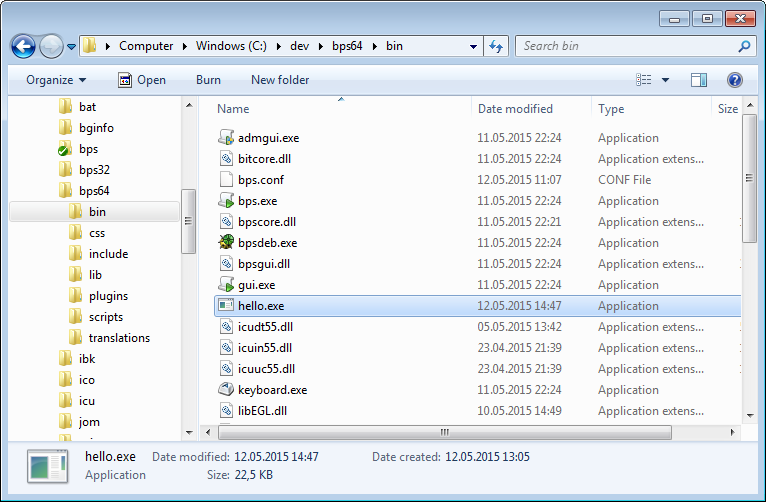
Press Ctrl+Shift+B to build all. Try to resolve possible issues by checking that you really followed all instructions exactly. Finally the program hello.exe should be created in the bin directory of your BPS installation:

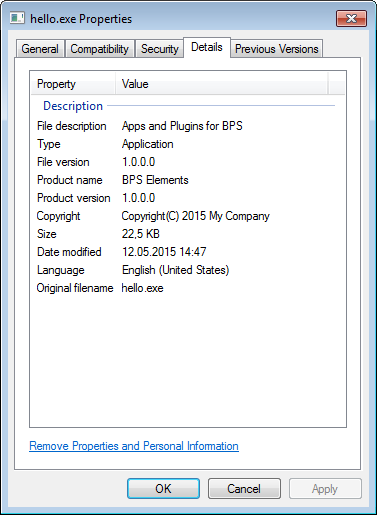
In the Details of the files properties you can find some information that we have set in bpsinit.prf:

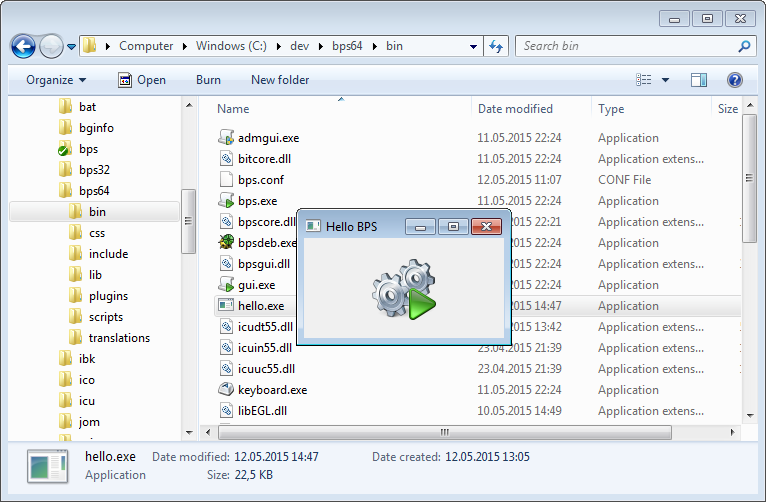
Finally run the new application to see if it works:

Congratulation, you have successfully created your first BPS application.
Continue from here with Application Plugins.