Oracle 18c XE auf Oracle Linux 7
Preface
Oracle Linux (OL, formerly known as Oracle Enterprise Linux) is a Linux distribution packaged and freely distributed by Oracle. It is compiled from Red Hat Enterprise Linux (RHEL) source code, replacing Red Hat branding with Oracle's. Users can freely download Oracle Linux through Oracle's E-delivery service (Oracle Software Delivery Cloud) or from a variety of mirror sites, and can deploy and distribute it without cost.
Oracle Database 18c Express (XE) is a free to use for in-house applications. If you have a tight budget but the limits are acceptable you may consider XE on OL for your BPS schema.
The limits of XE are:
- Up to 12 GB of user data
- Up to 2 GB of database RAM
- Up to 2 CPU threads
- Up to 3 Pluggable Databases
- No support by Oracle, but community support available
- No patches from Oracle
In this tutorial linux and oracle are installed in a virtual machine under VMware Workstation 15 Player. Oracle VM VirtualBox should also work, probably with small modifications.
Installation
Download Linux ISO
Download Oracle Linux from https://edelivery.oracle.com
- Sign In with your oracle credentials
- Search for „Oracle Linux“
- Add „DLP: Oracle Linux 7.7.0.0.0 (Oracle Linux)“ to cart
- Checkout and select „x86 64 bit“ as platform
- Accept license terms
- Download „V983339-01.iso Oracle Linux Release 7 Update 7 for x86 (64 bit), 4.4 GB“
Create Virtual Machine
Start VMware Workstation 15 Player
- Create a New Virtual Machine
- Installer Disc image file (iso): V983339-01.iso
- Virtual machine name: vmora18
- Location: E:\VM\vmora18
- Maximum disk size (GB): 120
- Store virtual disk as a single file
- Customize Hardware
- Memory: 2 GB
- Processors: 2
- Network Adapter: Bridged
- Power on this virtual machine after creation
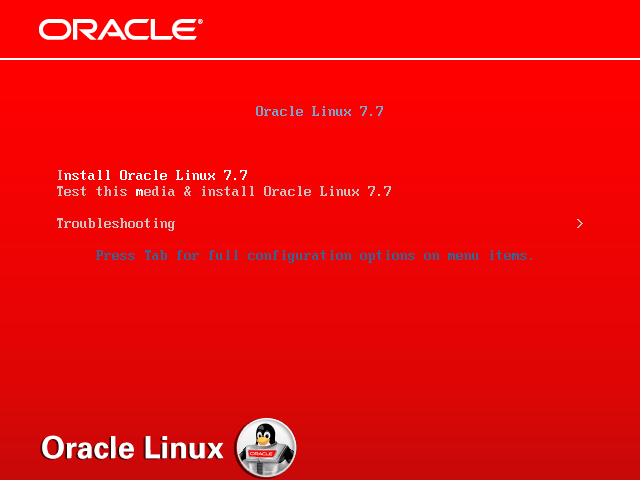
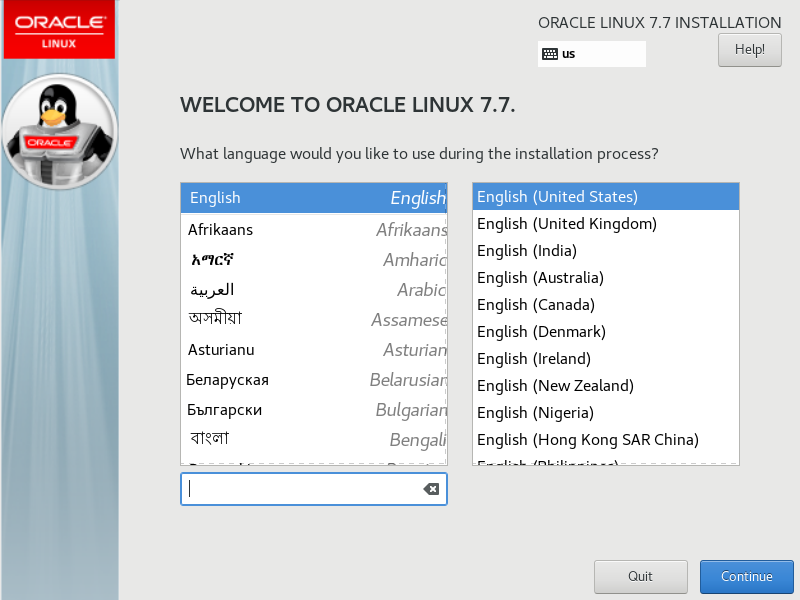
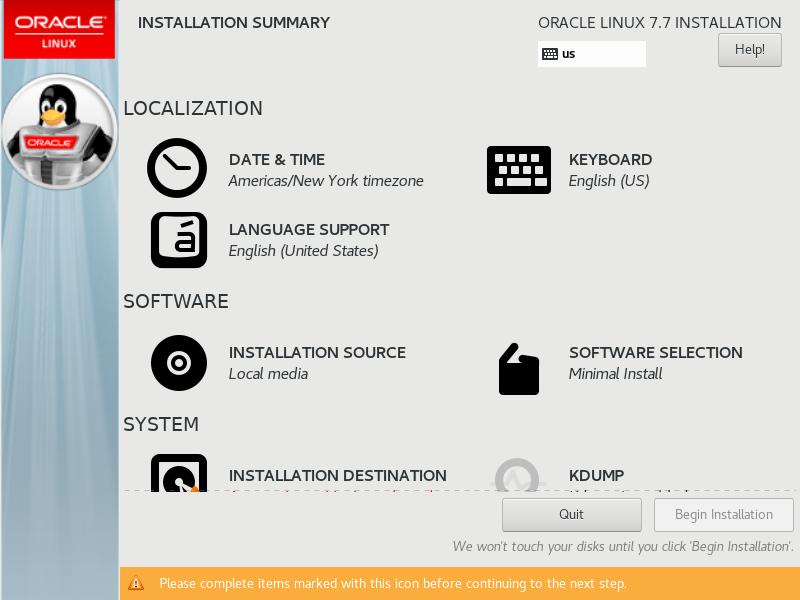
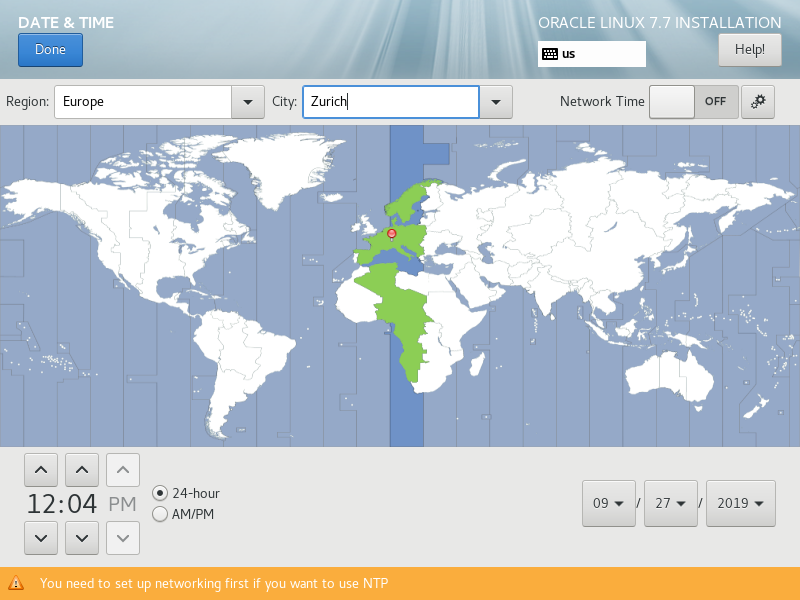
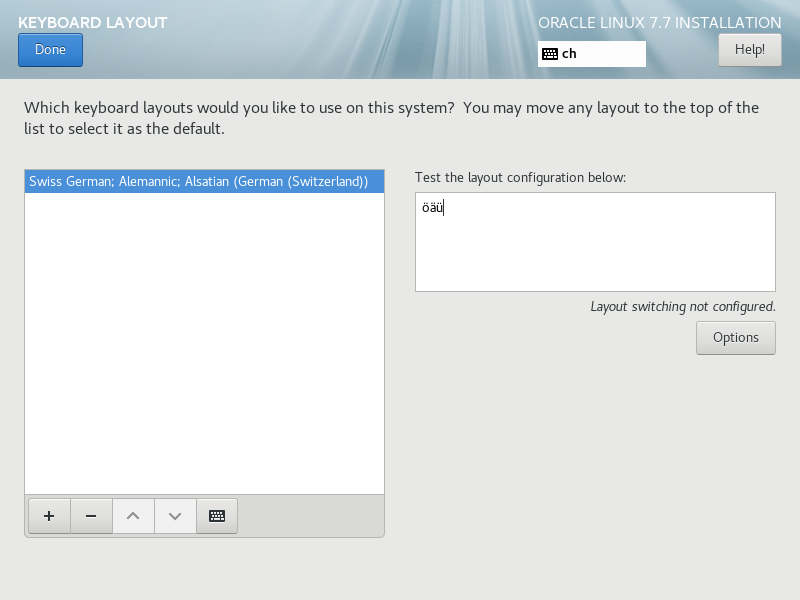
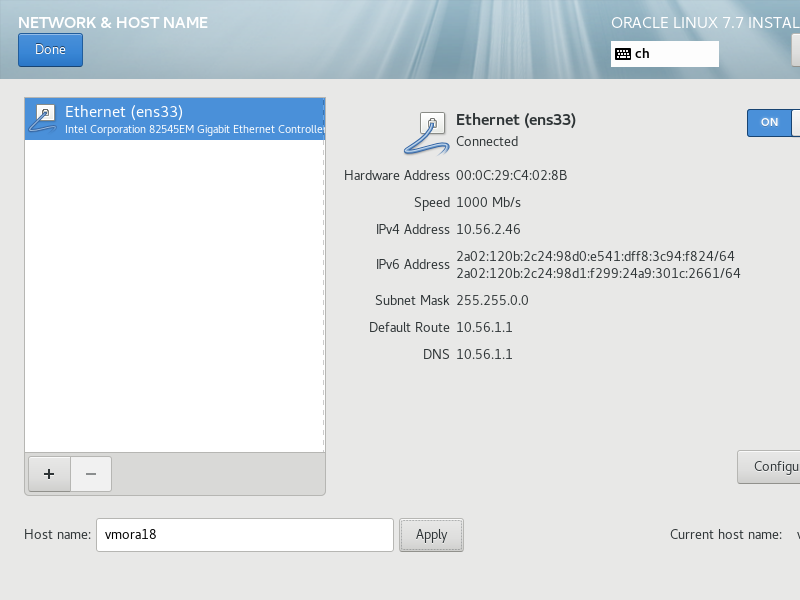
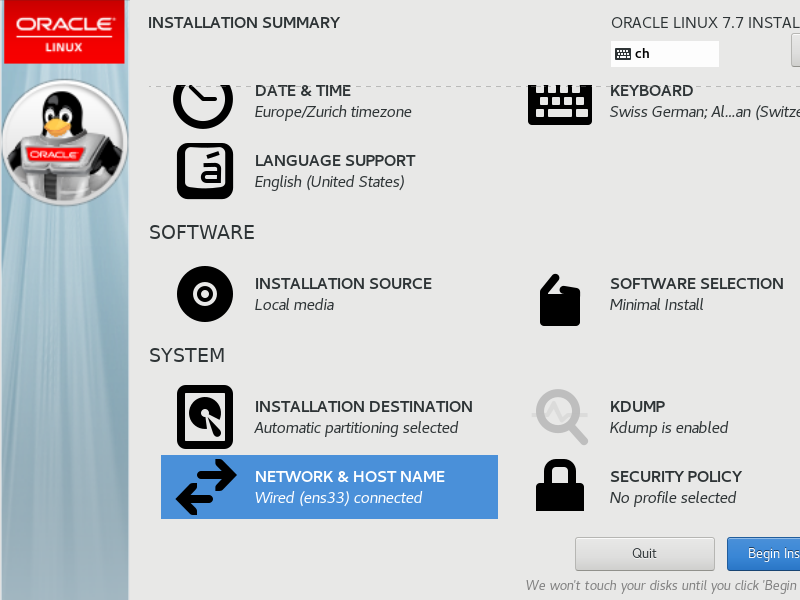
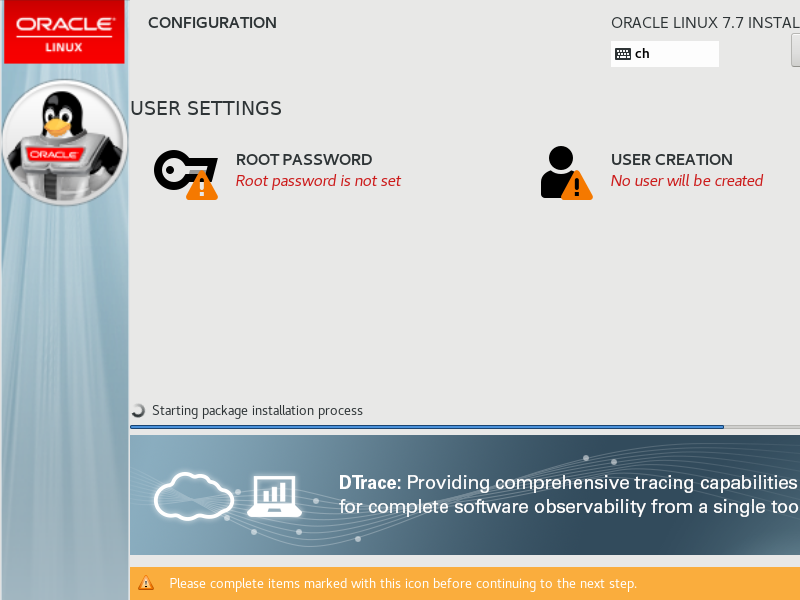
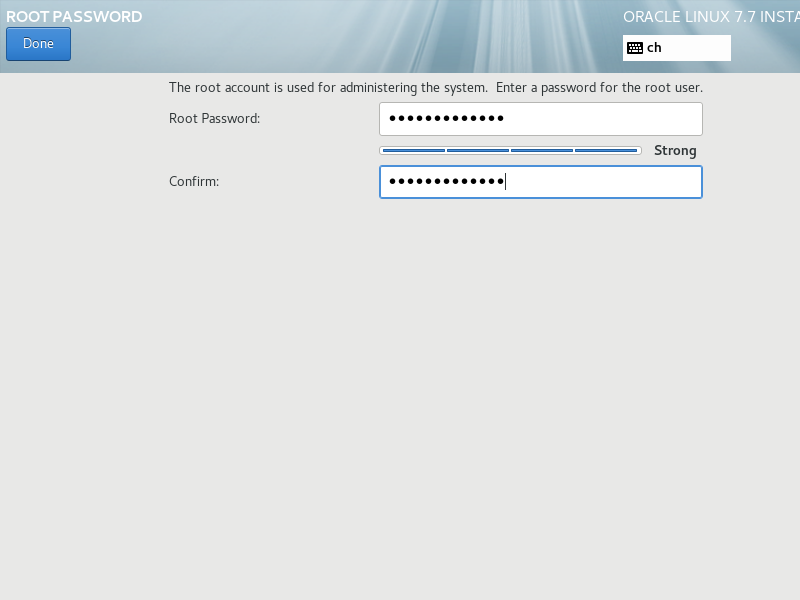
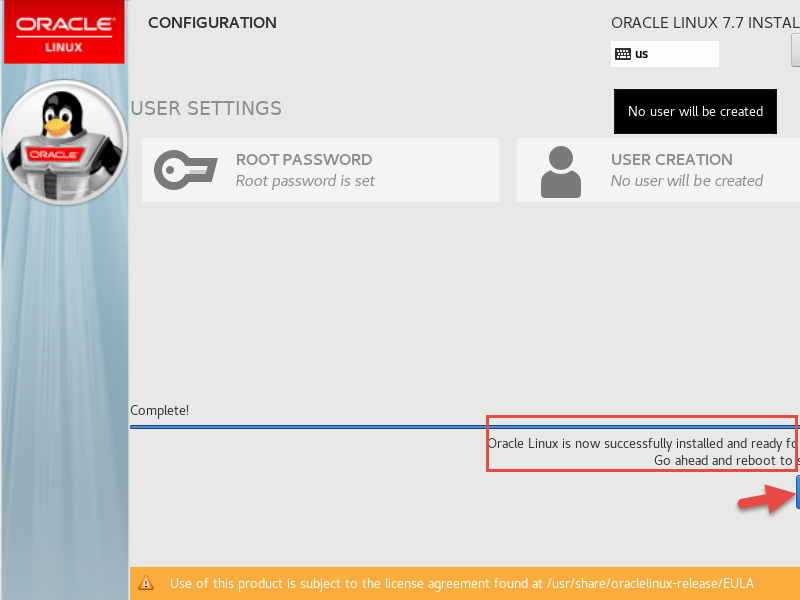
Install Linux
Update and DB Preinstall
Open a ssh terminal to „vmora18“ and login as root with the password defined before.
Update the software:
yum -y update
Run Oracle 18c preinstall:
yum -y install oracle-database-preinstall-18c
Install utilities:
yum -y install nano wget
Set a password for user „oracle“ so we can login:
passwd oracle
Optional: Assign a fixed IP in Swisscom Router
Reboot:
reboot
Setup SSH key auth for root
Create ~/.ssh and key
ssh-keygen -t rsa -b 4096
    <enter>
    <enter>
    <enter>
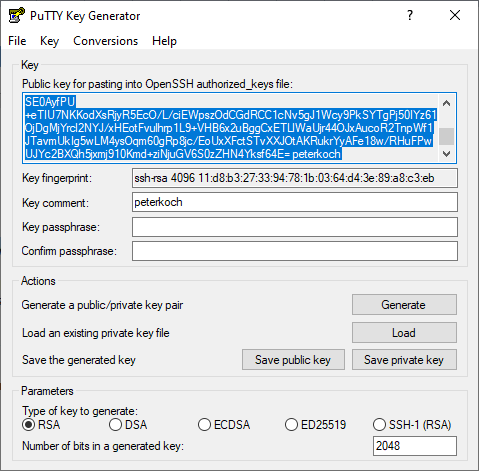
Load my personal key in PuTTYgen, and copy public key to the clipboard
Add my personal key to authorized keys:
nano ~/.ssh/authorized_keys
<paste>
Turn of password auth for ssh:
nano /etc/ssh/sshd_config
...
PasswordAuthentication no
...
Restart ssh:
service sshd restart
Leave SSH terminal yet open in case.
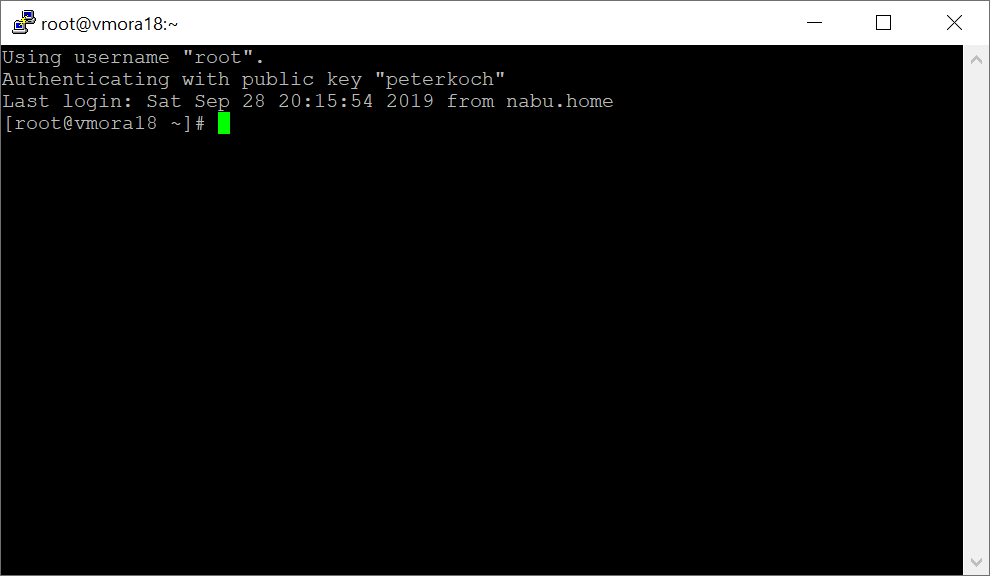
Create and test PuTTY session for root:
- Session
- Host Name: vmora18
- Port: 22 / SSH
- Connection
- Data
- Auto-login username: root
- SSH
- Auth
- Private key file: (location of my ppk)
- Session
- Saved sessions: vmora18 - root
- Save
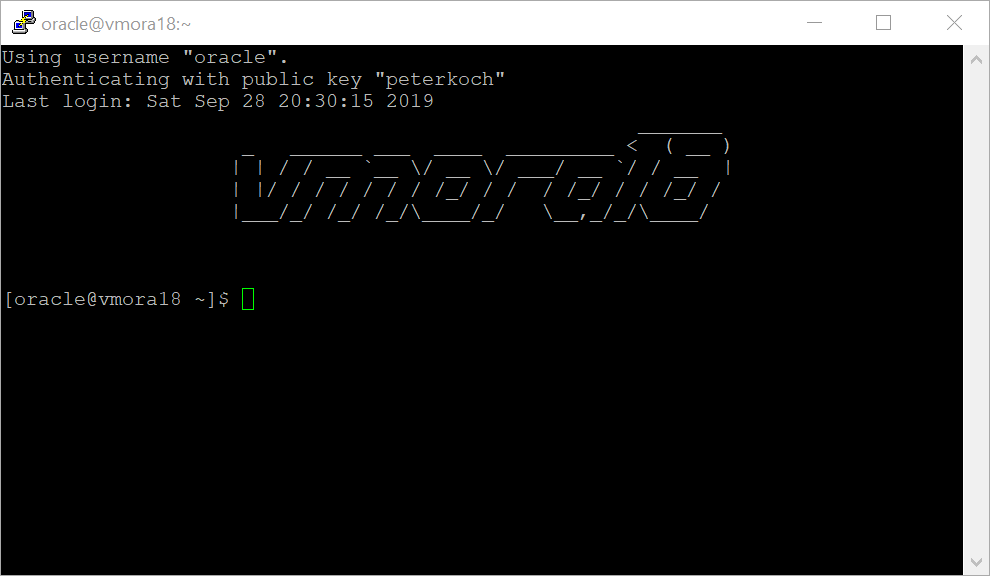
Motd Logo
Create logo at http://www.network-science.de/ascii/
- Text: vmora18
- Font: slant
- Reflection: no
- Adjustment: center
- Stretch: no
- Width: 80
- do it!
Copy logo to clipboard, and paste to motd
nano /etc/motd
<paste>
Install rlwrap for cursor keys in sqlplus
wget https://dl.fedoraproject.org/pub/epel/epel-release-latest-7.noarch.rpm
rpm -ivh epel-release-latest-7.noarch.rpm
yum -y install rlwrap
Make SELinux permissive
nano /etc/selinux/config
...
SELINUX=permissive
setenforce Permissive
Disable firewall
systemctl stop firewalld
systemctl disable firewalld
Enable SSH Login for User oracle
Similar as for root
su oracle
ssh-keygen -t rsa -b 4096
    <enter>
    <enter>
    <enter>
nano ~/.ssh/authorized_keys
<paste my personal public key>
Create PuTTY Session
- Load session „vmora19 - root“
- Change auto-login username: oracle
- Save session as „vmora19 - oracle“
Append to .bash_profile:
- ~/.bash_profile
export ORACLE_SID=XE
export ORAENV_ASK=NO
. /opt/oracle/product/18c/dbhomeXE/bin/oraenv
alias sqlplus="rlwrap sqlplus"
exit
reboot
Get Oracle 18c Express Software
Download software:
- Click: Oracle Database 18c Express Edition for Linux x64
- Accept license agreement
- Click „Download“ button
- Login with your oracle credentials
- Save file on your desktop PC
Use Filezilla to connect as root with SFTP/SSH, then upload oracle-database-xe-18c-1.0-1.x86_64.rpm to /root
Install DB software and create database
Install the software:
yum -y localinstall oracle-database-xe-18c-1.0-1.x86_64.rpm
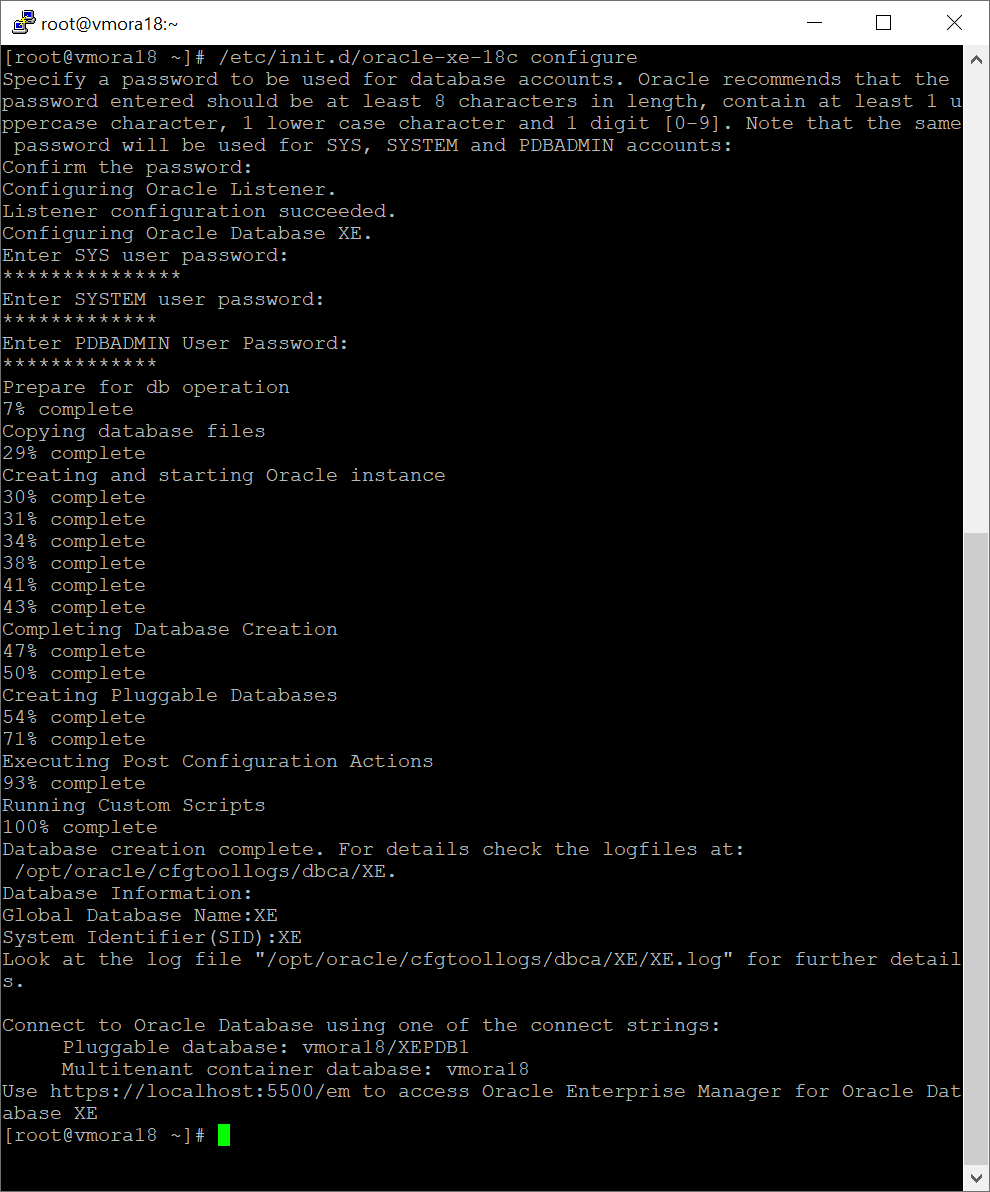
Create the database:
/etc/init.d/oracle-xe-18c configure
- Enter password for sys, system and pdbadmin 2x
Post-installaton steps
As root
Edit /etc/oratab and set the restart flag 'Y' to have XE started by dbstart:
nano /etc/oratab
...
XE:/opt/oracle/product/18c/dbhomeXE:Y
...
As oracle
Make sure the PDB starts when the instance starts.
sqlplus / as sysdba
--
alter pluggable database xepdb1 open;
alter pluggable database xepdb1 save state;
Automating Database Startup and Shutdown
systemctl daemon-reload
systemctl enable oracle-xe-18c
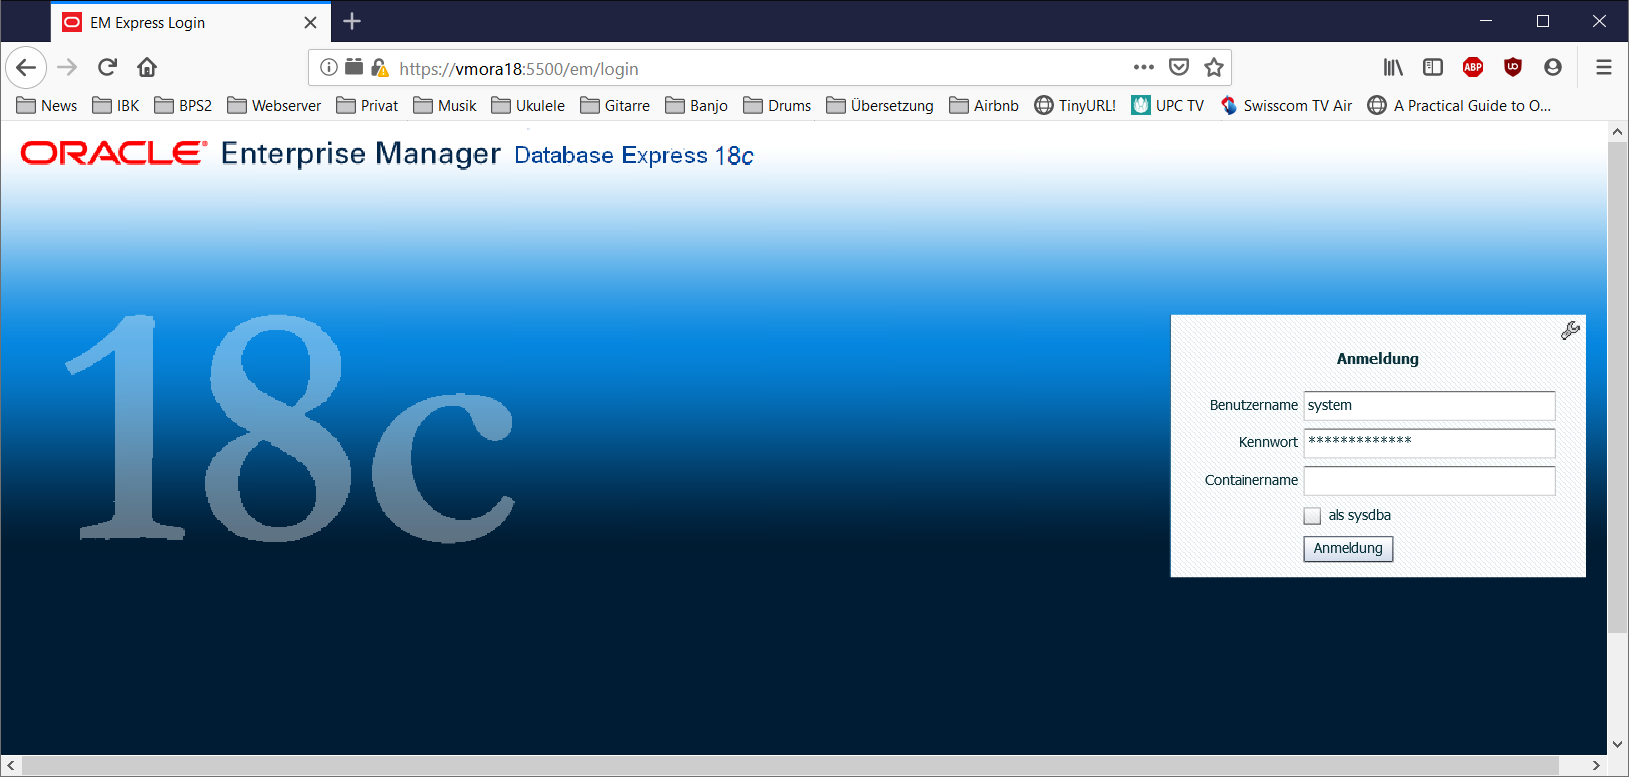
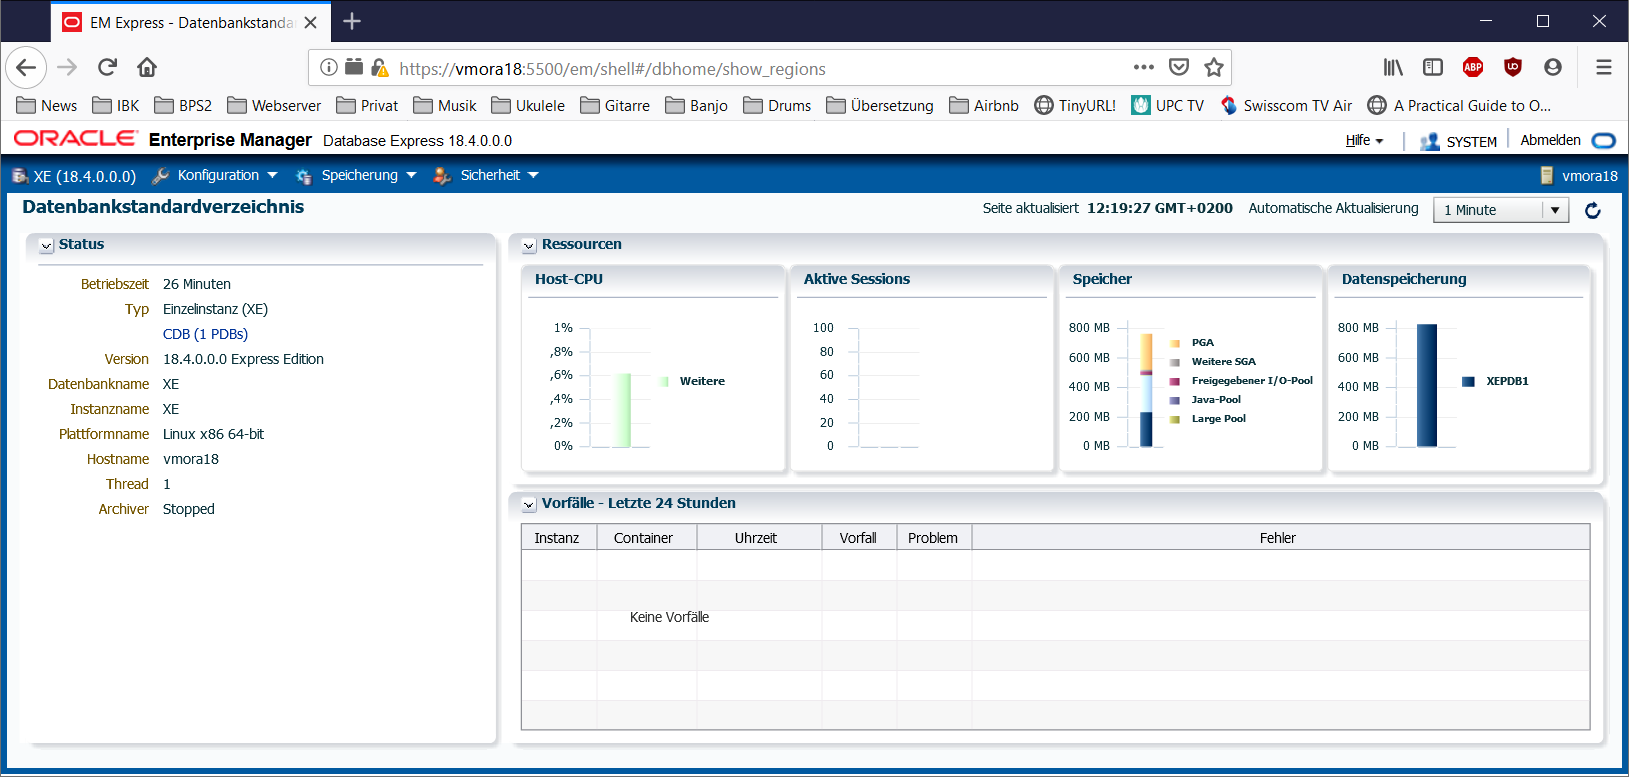
Enable Enterprise Manager Express
Administration
Create tablespaces in xepdb1
sqlplus / as sysdba
Create and list tablespaces
ALTER SESSION SET CONTAINER = xepdb1;
CREATE TABLESPACE lu_agrar_dat  DATAFILE '/opt/oracle/oradata/XE/XEPDB1/lu_agrar_dat.dbf' SIZE 10M  AUTOEXTEND ON NEXT 10M;
CREATE TABLESPACE lu_agrar_inx  DATAFILE '/opt/oracle/oradata/XE/XEPDB1/lu_agrar_inx.dbf' SIZE 10M  AUTOEXTEND ON NEXT 10M;
SELECT TABLESPACE_NAME, STATUS, CONTENTS FROM DBA_TABLESPACES;

TABLESPACE_NAME                STATUS    CONTENTS
------------------------------ --------- ---------------------
SYSTEM                         ONLINE    PERMANENT
SYSAUX                         ONLINE    PERMANENT
UNDOTBS1                       ONLINE    UNDO
TEMP                           ONLINE    TEMPORARY
USERS                          ONLINE    PERMANENT
LU_AGRAR_DAT                   ONLINE    PERMANENT
LU_AGRAR_INX                   ONLINE    PERMANENT
7 rows selected.
Check new tablespaces are available in xepdb1 only
ALTER SESSION SET CONTAINER = CDB$ROOT;
SELECT TABLESPACE_NAME, STATUS, CONTENTS FROM DBA_TABLESPACES;

TABLESPACE_NAME                STATUS    CONTENTS
------------------------------ --------- ---------------------
SYSTEM                         ONLINE    PERMANENT
SYSAUX                         ONLINE    PERMANENT
UNDOTBS1                       ONLINE    UNDO
TEMP                           ONLINE    TEMPORARY
USERS                          ONLINE    PERMANENT
Drop tablespaces in xepdb1
sqlplus / as sysdba
List and drop tablespaces
ALTER SESSION SET CONTAINER = xepdb1;
SELECT TABLESPACE_NAME, STATUS, CONTENTS FROM DBA_TABLESPACES;
DROP TABLESPACE lu_agrar INCLUDING CONTENTS AND DATAFILES;
TNSNAMES entry for clients
VMORA18 =
  (DESCRIPTION =
    (ADDRESS = (PROTOCOL = TCP)(HOST = vmora18)(PORT = 1521))
    (CONNECT_DATA =
      (SERVER = DEDICATED)
      (SERVICE_NAME = xepdb1)
    )
  )
Monitor Used Space
Monitoring the used space is important on XE, since you don't want to run into the maximum 12 GB limit!
What counts to the XE space limit of 12 GB is somewhat unclear for me. Oracle says USER DATA. So the default sys-, undo- and temporary tablespaces are probably unconsidered. Since I am not completely sure about this, I count all data visible in cdb_data_files.
Connect
sqlplus / as sysdba
Check used space per tablespace:
select tablespace_name, round(bytes/1024/1024) MB, round(bytes/1024/1024/1024,3) GB from cdb_data_files;
Sample output:
TABLESPACE_NAME                        MB         GB
------------------------------ ---------- ----------
USERS                                   5       .005
UNDOTBS1                               65       .063
SYSTEM                                840        .82
SYSAUX                                580       .566
SYSTEM                                290       .283
SYSAUX                                430        .42
UNDOTBS1                              220       .215
USERS                                   5       .005
LU_AGRAR_DAT                           50       .049
LU_AGRAR_INX                           50       .049
If you just want the summary of user data:
select round(sum(bytes)/1024/1024) MB, round(sum(bytes)/1024/1024/1024,3) GB from cdb_data_files
where tablespace_name not like 'SYS%' and tablespace_name not like 'UNDO%';
Sample output:
        MB         GB
---------- ----------
      2535      2.476
Disable Password Expire
You may vant to disable password expire at least for system and the BPS superuser.
As system, check used profiles:
select profile from DBA_USERS where username = 'SYSTEM';
select profile from DBA_USERS where username = 'LU_AGRAR';
Check settings of the profiles, for example the DEFAULT profile:
select resource_name,limit from dba_profiles where profile='DEFAULT';
Set to unlimited:
alter profile DEFAULT limit password_life_time UNLIMITED;
