PostgreSQL 12 Server auf CentOS Linux 7
Preface
PostgreSQL is a powerful database system where the SQL language is very similar to Oracle's. That is the reason why we choose PostgreSQL as a database platform for BPS. The origins of PostgreSQL date back to 1986 as part of the POSTGRES project at the University of California at Berkeley and has more than 30 years of active development on the core platform.
PostgreSQL is free and open source, so you can use it for your production schemas without any license costs. Compared to Oracle Express which you may also use for free, PostgreSQL does not impose any technical restrictions on CPU count, memory limit, database size etc. Also there is commercial support available from a number of companies in case you need it.
In this tutorial Linux and PostgreSQL are installed in a virtual machine under VMware Workstation 15 Player.
Installation
Linux
Download Linux ISO
Download CentOS Linux 7 from https://centos.org/
Since 7 is not the latest release, you may have to select a mirror first, and then browse to centos/7/isos/x86_64 to see the ISO files available, for example http://linuxsoft.cern.ch/centos/7/isos/x86_64/ for a popular swiss mirror.
Select the full installation iso, which is probably the biggest like CentOS-7-x86_64-DVD-1908.iso 4.3GB. It takes somewhat longer to download but is most convenient for the installation.
Create Virtual Machine
Start VMware Workstation 15 Player
- Create a New Virtual Machine
- Installer Disc image file (iso): CentOS-7-x86_64-DVD-1908.iso
- Virtual machine name: vmpg12
- Location: D:\VM\vmpg12
- Maximum disk size (GB): 120
- Store virtual disk as a single file
- Customize Hardware
- Memory: 2 GB
- Processors: 2
- Network Adapter: Bridged
- Power on this virtual machine after creation
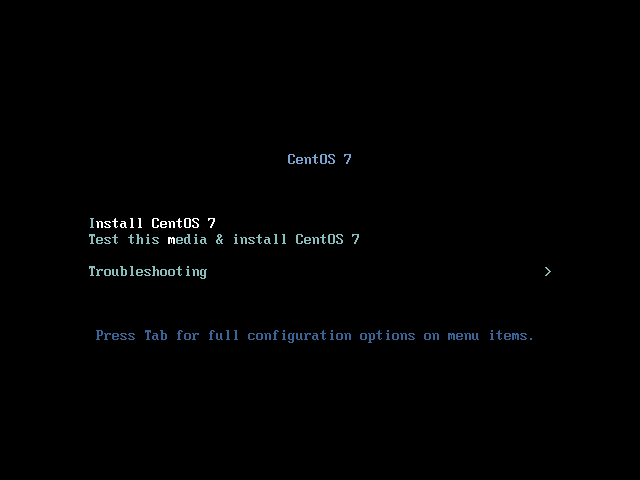
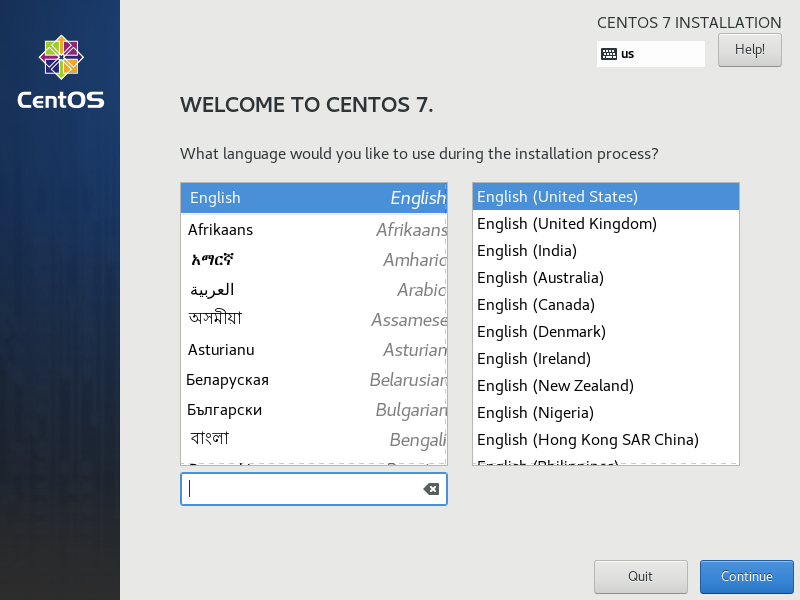
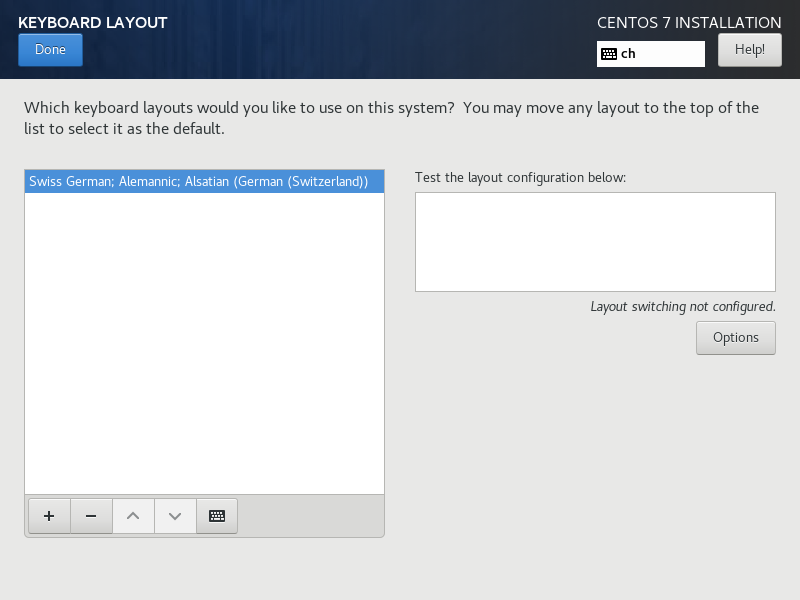
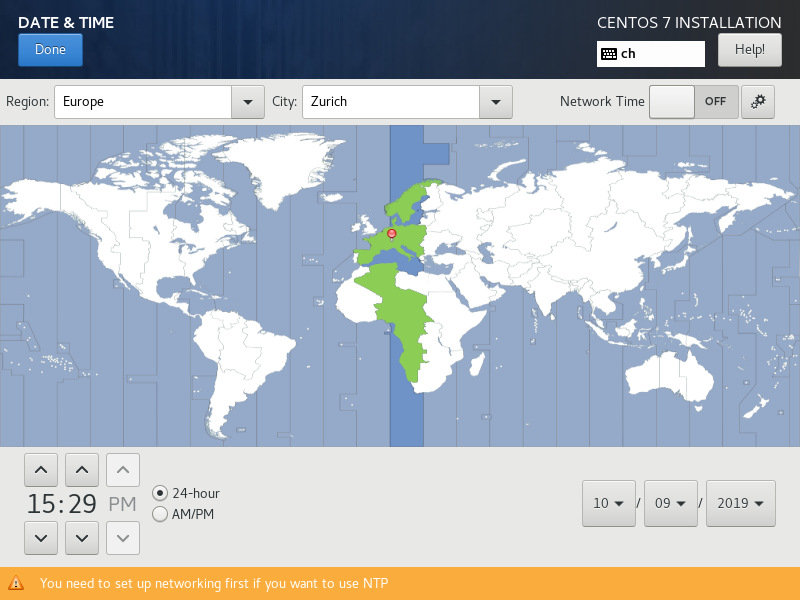
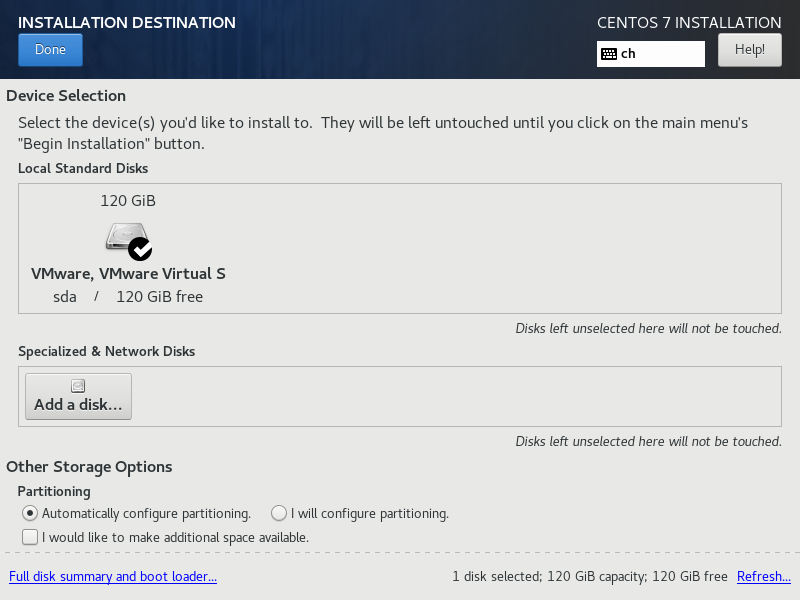
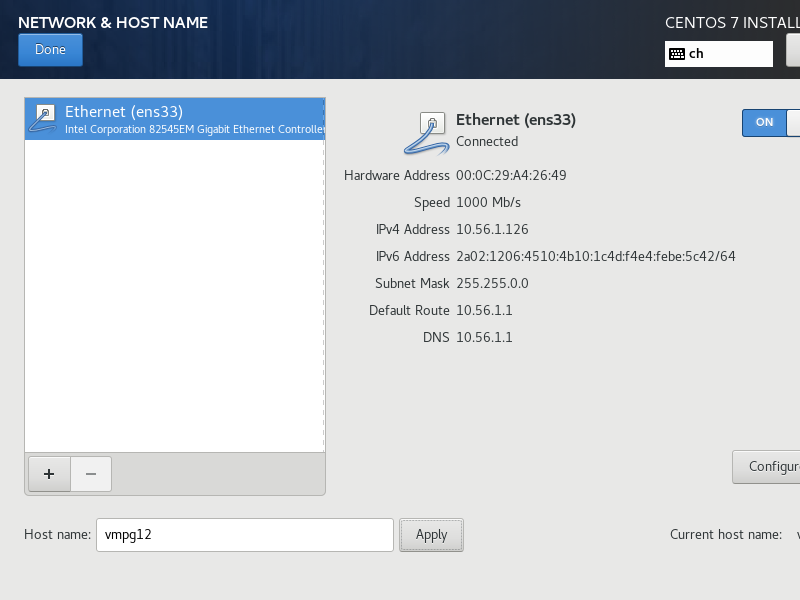
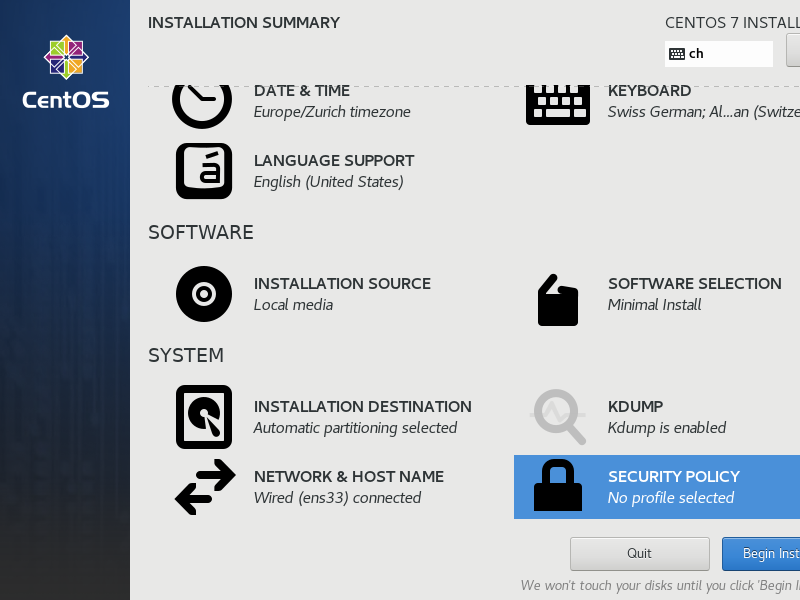
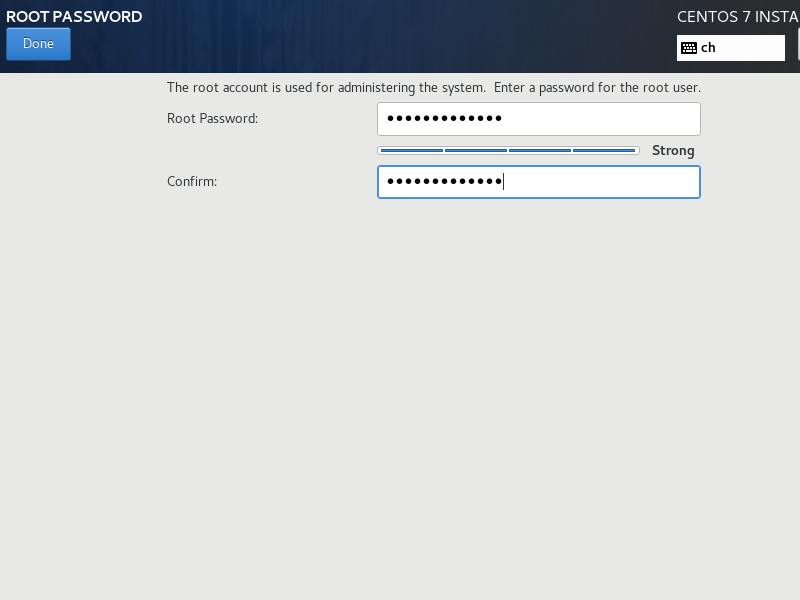
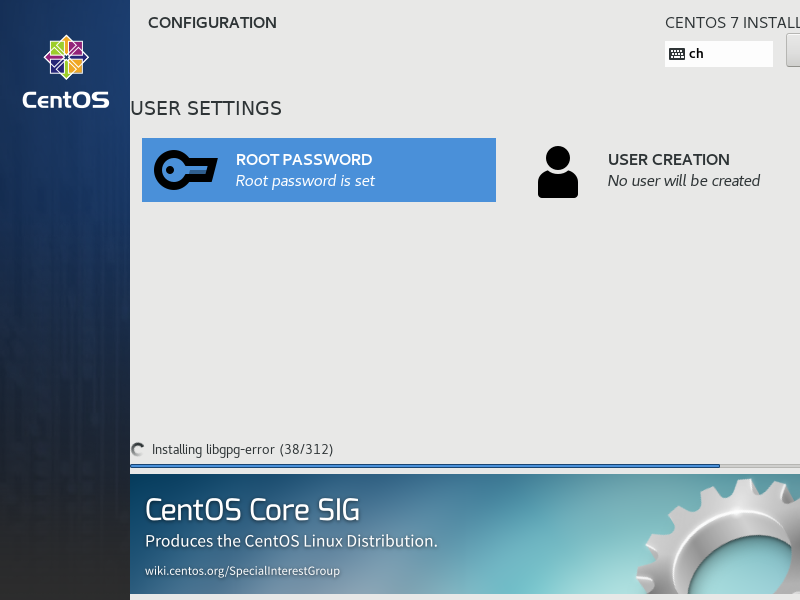
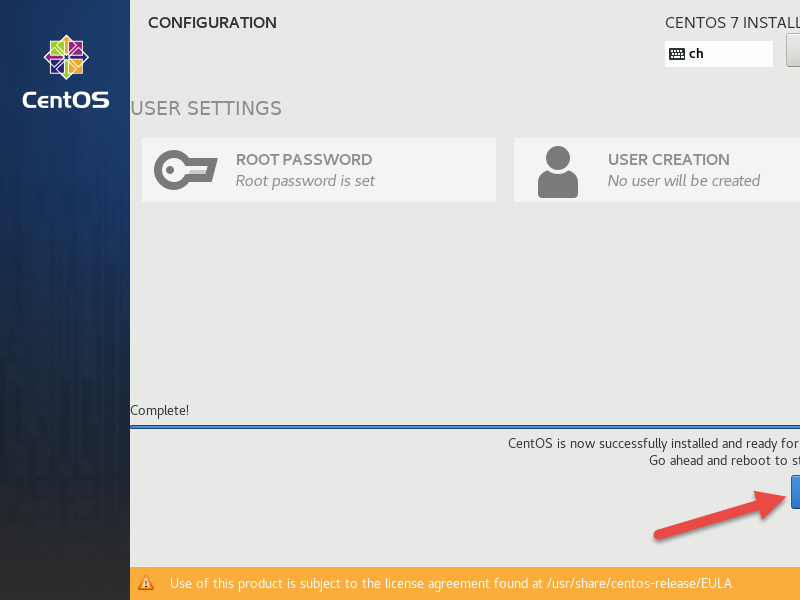
Install Linux

Update
Open a ssh terminal to „vmpg12“ and login as root with the password defined before.
Update the software:
yum -y update
Install utilities:
yum -y install nano
Setup SSH key auth for root
Create ~/.ssh and key
ssh-keygen -t rsa -b 4096
    <enter>
    <enter>
    <enter>
Load my personal key in PuTTYgen, and copy public key to the clipboard
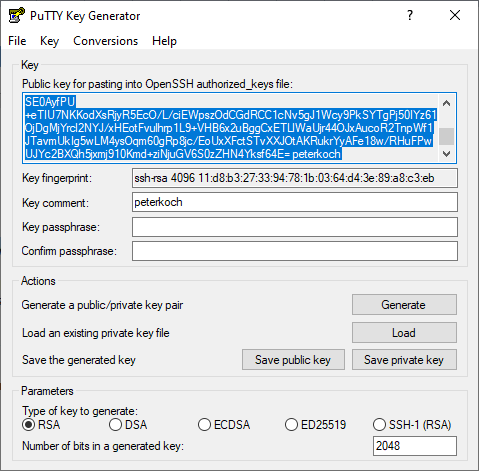
Add my personal key to authorized keys:
nano ~/.ssh/authorized_keys
<paste>
Turn of password auth for ssh:
nano /etc/ssh/sshd_config
...
PasswordAuthentication no
...
Restart ssh:
service sshd restart
Leave SSH terminal yet open in case.
Create and test PuTTY session for root:
- Session
- Host Name: vmora18
- Port: 22 / SSH
- Connection
- Data
- Auto-login username: root
- SSH
- Auth
- Private key file: (location of my ppk)
- Session
- Saved sessions: vmora18 - root
- Save
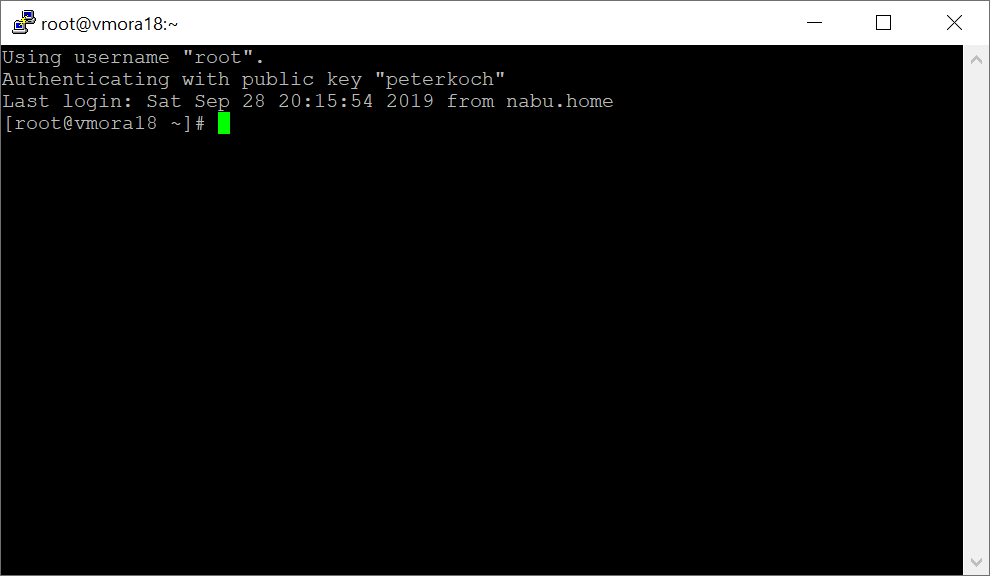
Motd Logo
Create logo at http://www.network-science.de/ascii/
- Text: vmpg12
- Font: slant
- Reflection: no
- Adjustment: center
- Stretch: no
- Width: 80
- do it!
Copy logo to clipboard, and paste to motd
nano /etc/motd
<paste>
Disable SELinux
nano /etc/selinux/config
...
SELINUX=disabled
Disable firewall and reboot
systemctl stop firewalld
systemctl disable firewalld
reboot
Database
Install software and create initial database
Install the repository RPM:
yum -y install https://download.postgresql.org/pub/repos/yum/reporpms/EL-7-x86_64/pgdg-redhat-repo-latest.noarch.rpm
Install the client packages:
yum -y install postgresql12
Install the server packages:
yum -y install postgresql12-server
Initialize the database:
/usr/pgsql-12/bin/postgresql-12-setup initdb
Enable automatic start:
systemctl enable postgresql-12
systemctl start postgresql-12
Enable password authentication
Upon installation Postgres is set up to use „ident“ authentication, meaning that it associates Postgres roles with a matching Linux system account. If a Postgres role exists, it can be signed in by logging into the associated Linux system account. We want to change to password od „md5“ authentication.
First set the password for user postgres:
su postgres
cd ~
psql
\password
<enter password 2x>
\q
exit
Example log:

Now edit the host-based authentication (HBA) configuration file pg_hba.conf and change the two lines starting with „host all all..“ from „ident“ to „md5“:
nano /var/lib/pgsql/12/data/pg_hba.conf
...
# IPv4 local connections:
host    all             all             127.0.0.1/32            md5
# IPv6 local connections:
host    all             all             ::1/128                 md5
...
Restart service:
systemctl restart postgresql-12
Test from root prompt:
psql -U postgres -h localhost
<password>
\q
Enable connections from other machines
Locate config files
find / -name "postgresql.conf"
find / -name "pg_hba.conf"
Edit postgresql.conf and set listen_address to *
nano /var/lib/pgsql/12/data/postgresql.conf
...
listen_addresses = '*'
...
Edit pg_hba.conf and add lines for external access
nano /var/lib/pgsql/12/data/pg_hba.conf
...
# IPv4 all connections from any address:
host    all             all             0.0.0.0/0               md5
# IPv6 all connections from any address:
host    all             all             ::/0                    md5
Restart
systemctl restart postgresql-12
Tuning
Edit postgresql.conf for the following modifications.
Avoid session disconnect at long running queries:
tcp_keepalives_idle = 60
tcp_keepalives_interval = 60
For good BPS performance on a machine with 2GB RAM, 2 Processors and SSD disk:
max_connections = 25
shared_buffers = 512MB
work_mem = 16MB
maintenance_work_mem = 128MB
effective_io_concurrency = 200
max_worker_processes = 2
max_parallel_workers_per_gather = 1
max_parallel_workers = 2
wal_buffers = 16MB
max_wal_size = 2GB
min_wal_size = 1GB
checkpoint_completion_target = 0.9
random_page_cost = 1.1
effective_cache_size = 1GB
default_statistics_target = 100
Restart
systemctl restart postgresql-12
pgAdmin 4
Install and setup
Install pgAdmin4
yum -y install epel-release
yum -y update
yum -y install pgadmin4
Start and enable httpd service to start on boot
systemctl start httpd
systemctl enable httpd
Clone sample virtual host config and edit it
cp /etc/httpd/conf.d/pgadmin4.conf.sample /etc/httpd/conf.d/pgadmin4.conf
nano /etc/httpd/conf.d/pgadmin4.conf
Modify it to read this way:
- /etc/httpd/conf.d/pgadmin4.conf
<VirtualHost *:80>
ServerName vmpg12
LoadModule wsgi_module modules/mod_wsgi.so
WSGIDaemonProcess pgadmin processes=1 threads=25
WSGIScriptAlias /pgadmin4 /usr/lib/python2.7/site-packages/pgadmin4-web/pgAdmin4.wsgi

<Directory /usr/lib/python2.7/site-packages/pgadmin4-web/>
	WSGIProcessGroup pgadmin
	WSGIApplicationGroup %{GLOBAL}
	<IfModule mod_authz_core.c>
		# Apache 2.4
		Require all granted
	</IfModule>
	<IfModule !mod_authz_core.c>
		# Apache 2.2
		Order Deny,Allow
		Deny from All
		Allow from 127.0.0.1
		Allow from ::1
	</IfModule>
</Directory>
</VirtualHost>
Check config and restart apache
httpd -t
systemctl restart httpd
Create pgAdmin data directories and set apache as owner
mkdir -p /var/lib/pgadmin4/
chown -R apache:apache /var/lib/pgadmin4
mkdir -p /var/log/pgadmin4/
chown -R apache:apache /var/log/pgadmin4
Edit site config file
nano /usr/lib/python2.7/site-packages/pgadmin4-web/config_distro.py
to:
- config_distro.py
HELP_PATH = '/usr/share/doc/pgadmin4-docs/en_US/html'
UPGRADE_CHECK_ENABLED = False
LOG_FILE = '/var/log/pgadmin4/pgadmin4.log'
SQLITE_PATH = '/var/lib/pgadmin4/pgadmin4.db'
SESSION_DB_PATH = '/var/lib/pgadmin4/sessions'
STORAGE_DIR = '/var/lib/pgadmin4/storage'
Initialize pgAdmin 4
python /usr/lib/python2.7/site-packages/pgadmin4-web/setup.py
<enter your email>
<enter password 2>
Reboot
reboot
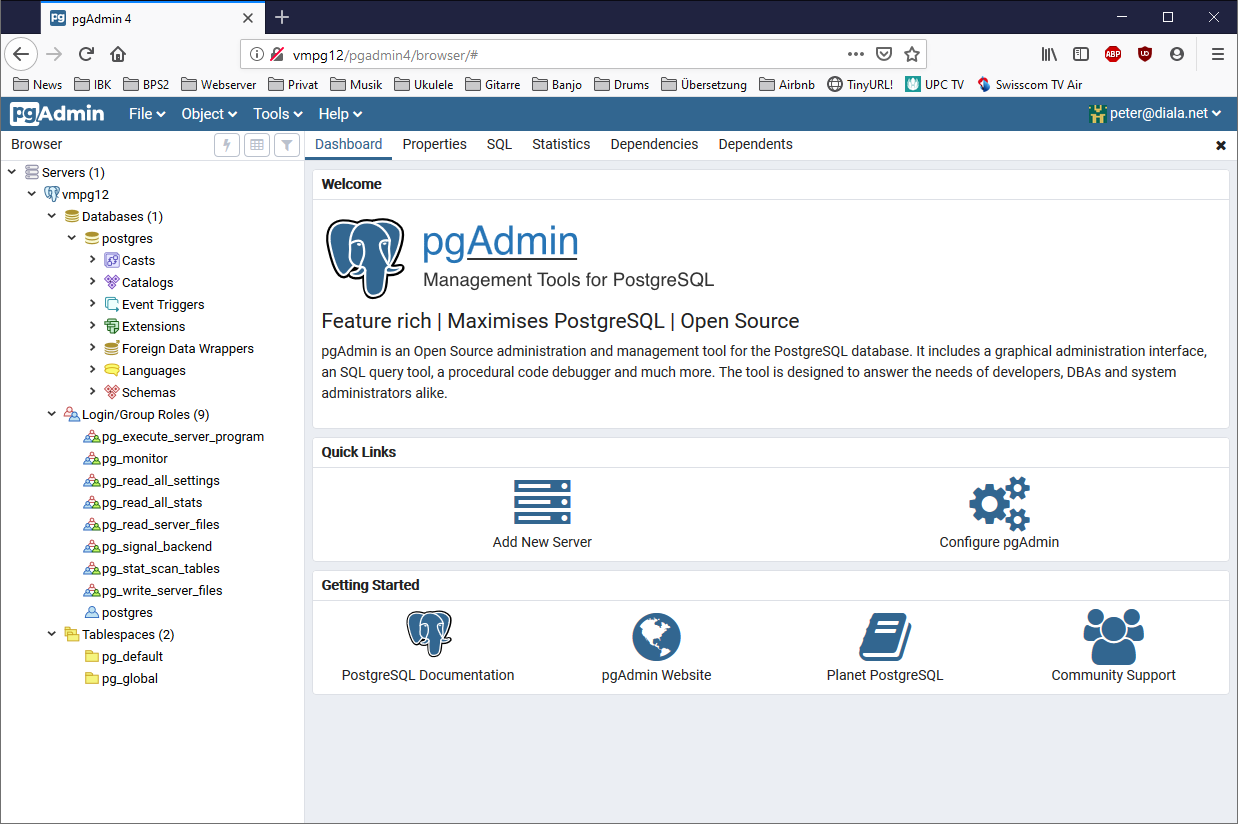
First steps in pgAdmin 4
Address in browser:
http://vmpg12/pgadmin4
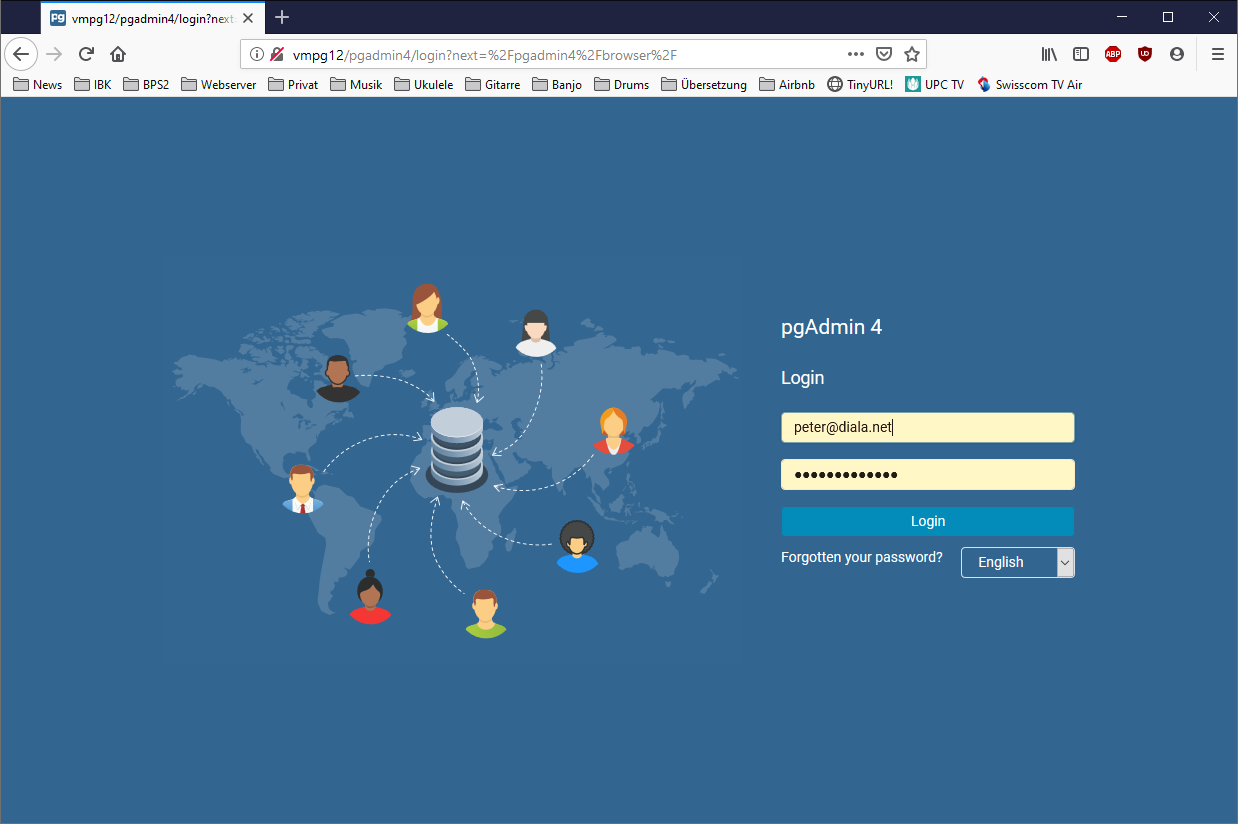
Enter your email and password to login
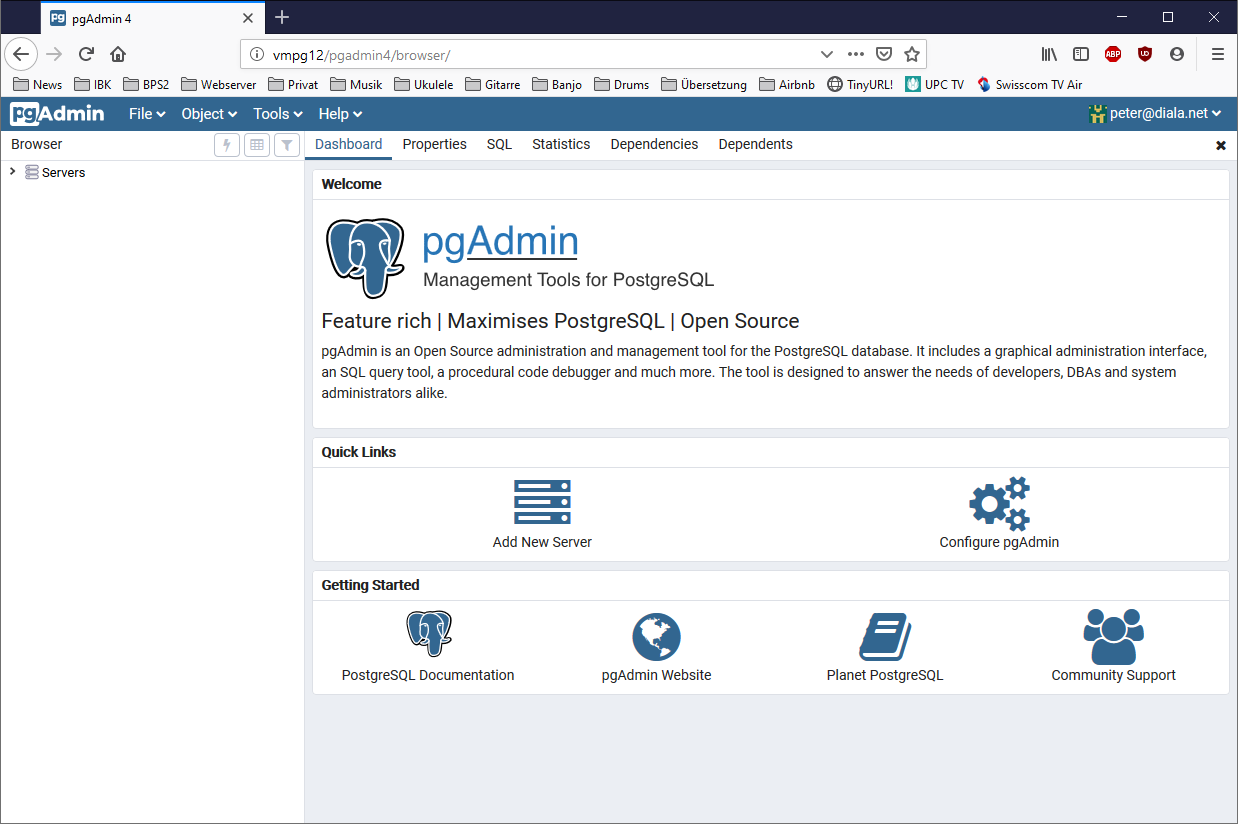
Add new server:
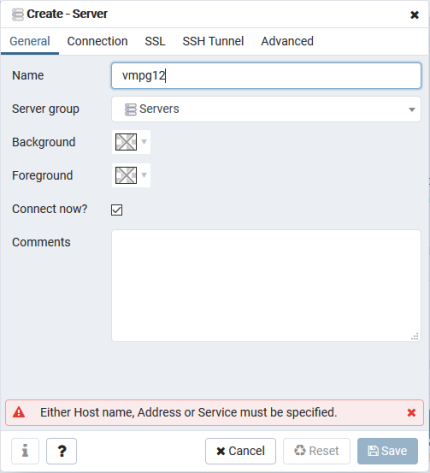 →
→ 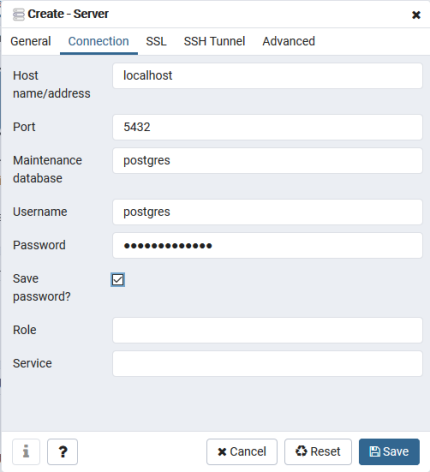
So we are ready to go: